You can import and export data to text files and Microsoft Excel spreadsheets. Use this to bring in maintenance data from your existing system - most software programs can export data to comma delimited text files. You can also use the import function to update existing data e.g. part prices & quantities and so on.
Tip: You can create custom data fields for different items e.g. parts, equipment, etc. and import them also.
1. Select the Import data link in the Tools section on the Home page.
2. This brings up an Import wizard that provides a step-by-step guide to importing your data.
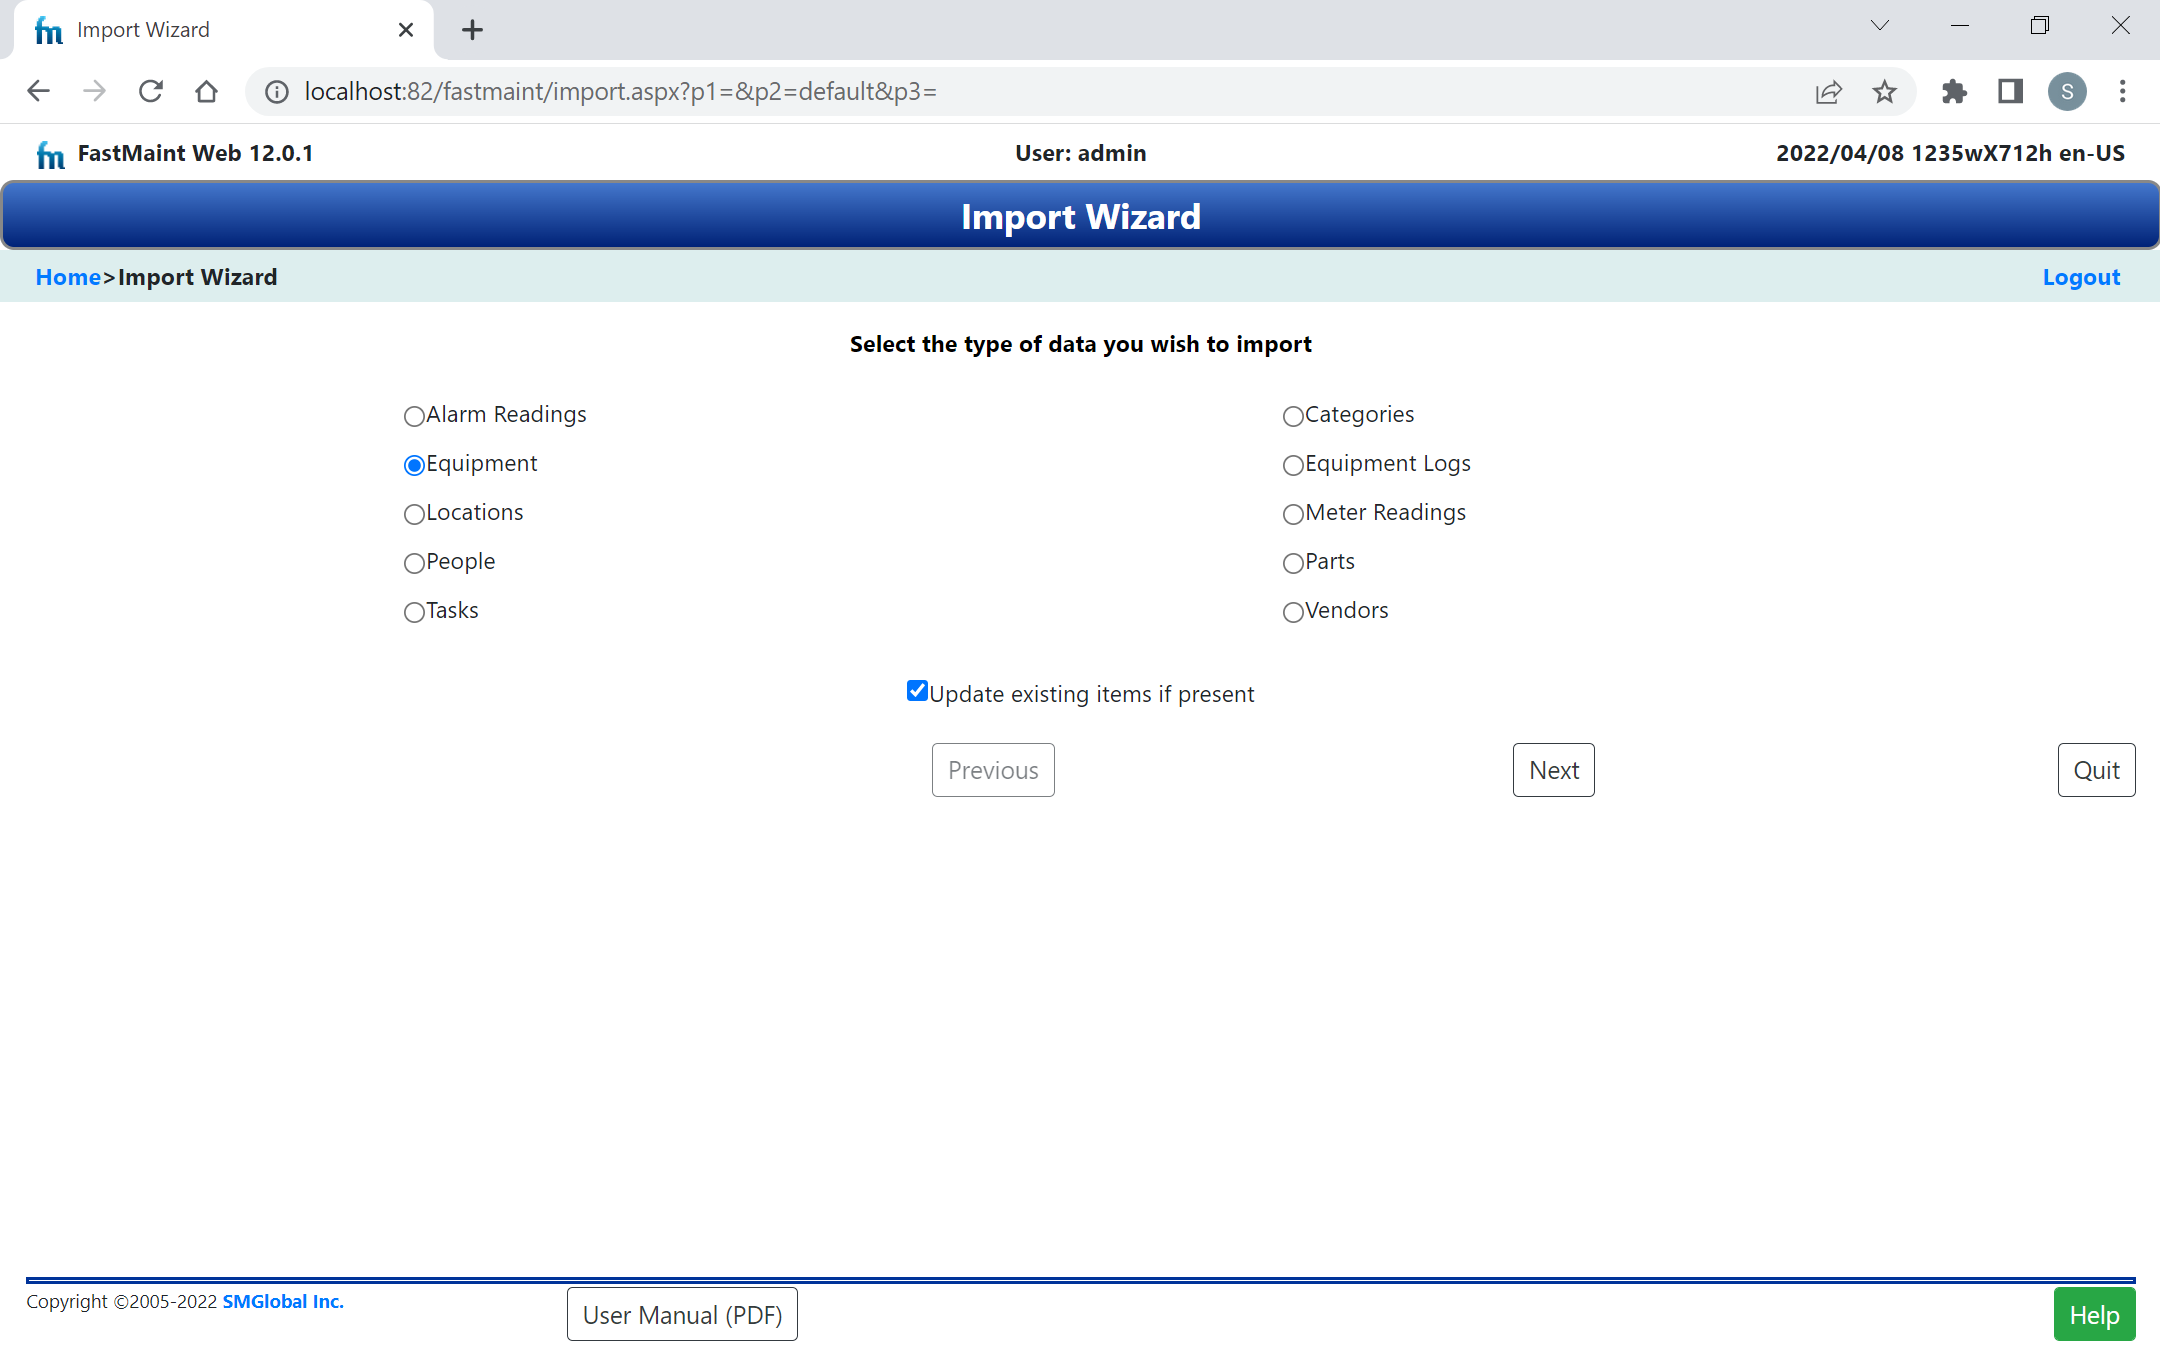
3. Select the type of data (People, Equipment, Parts, ...) that you want to import.If you want to update existing items make sure the check box "Update existing items if present" is checked off.
4. Click the Next button and FastMaint will show you the fields that can be imported based on your selection.
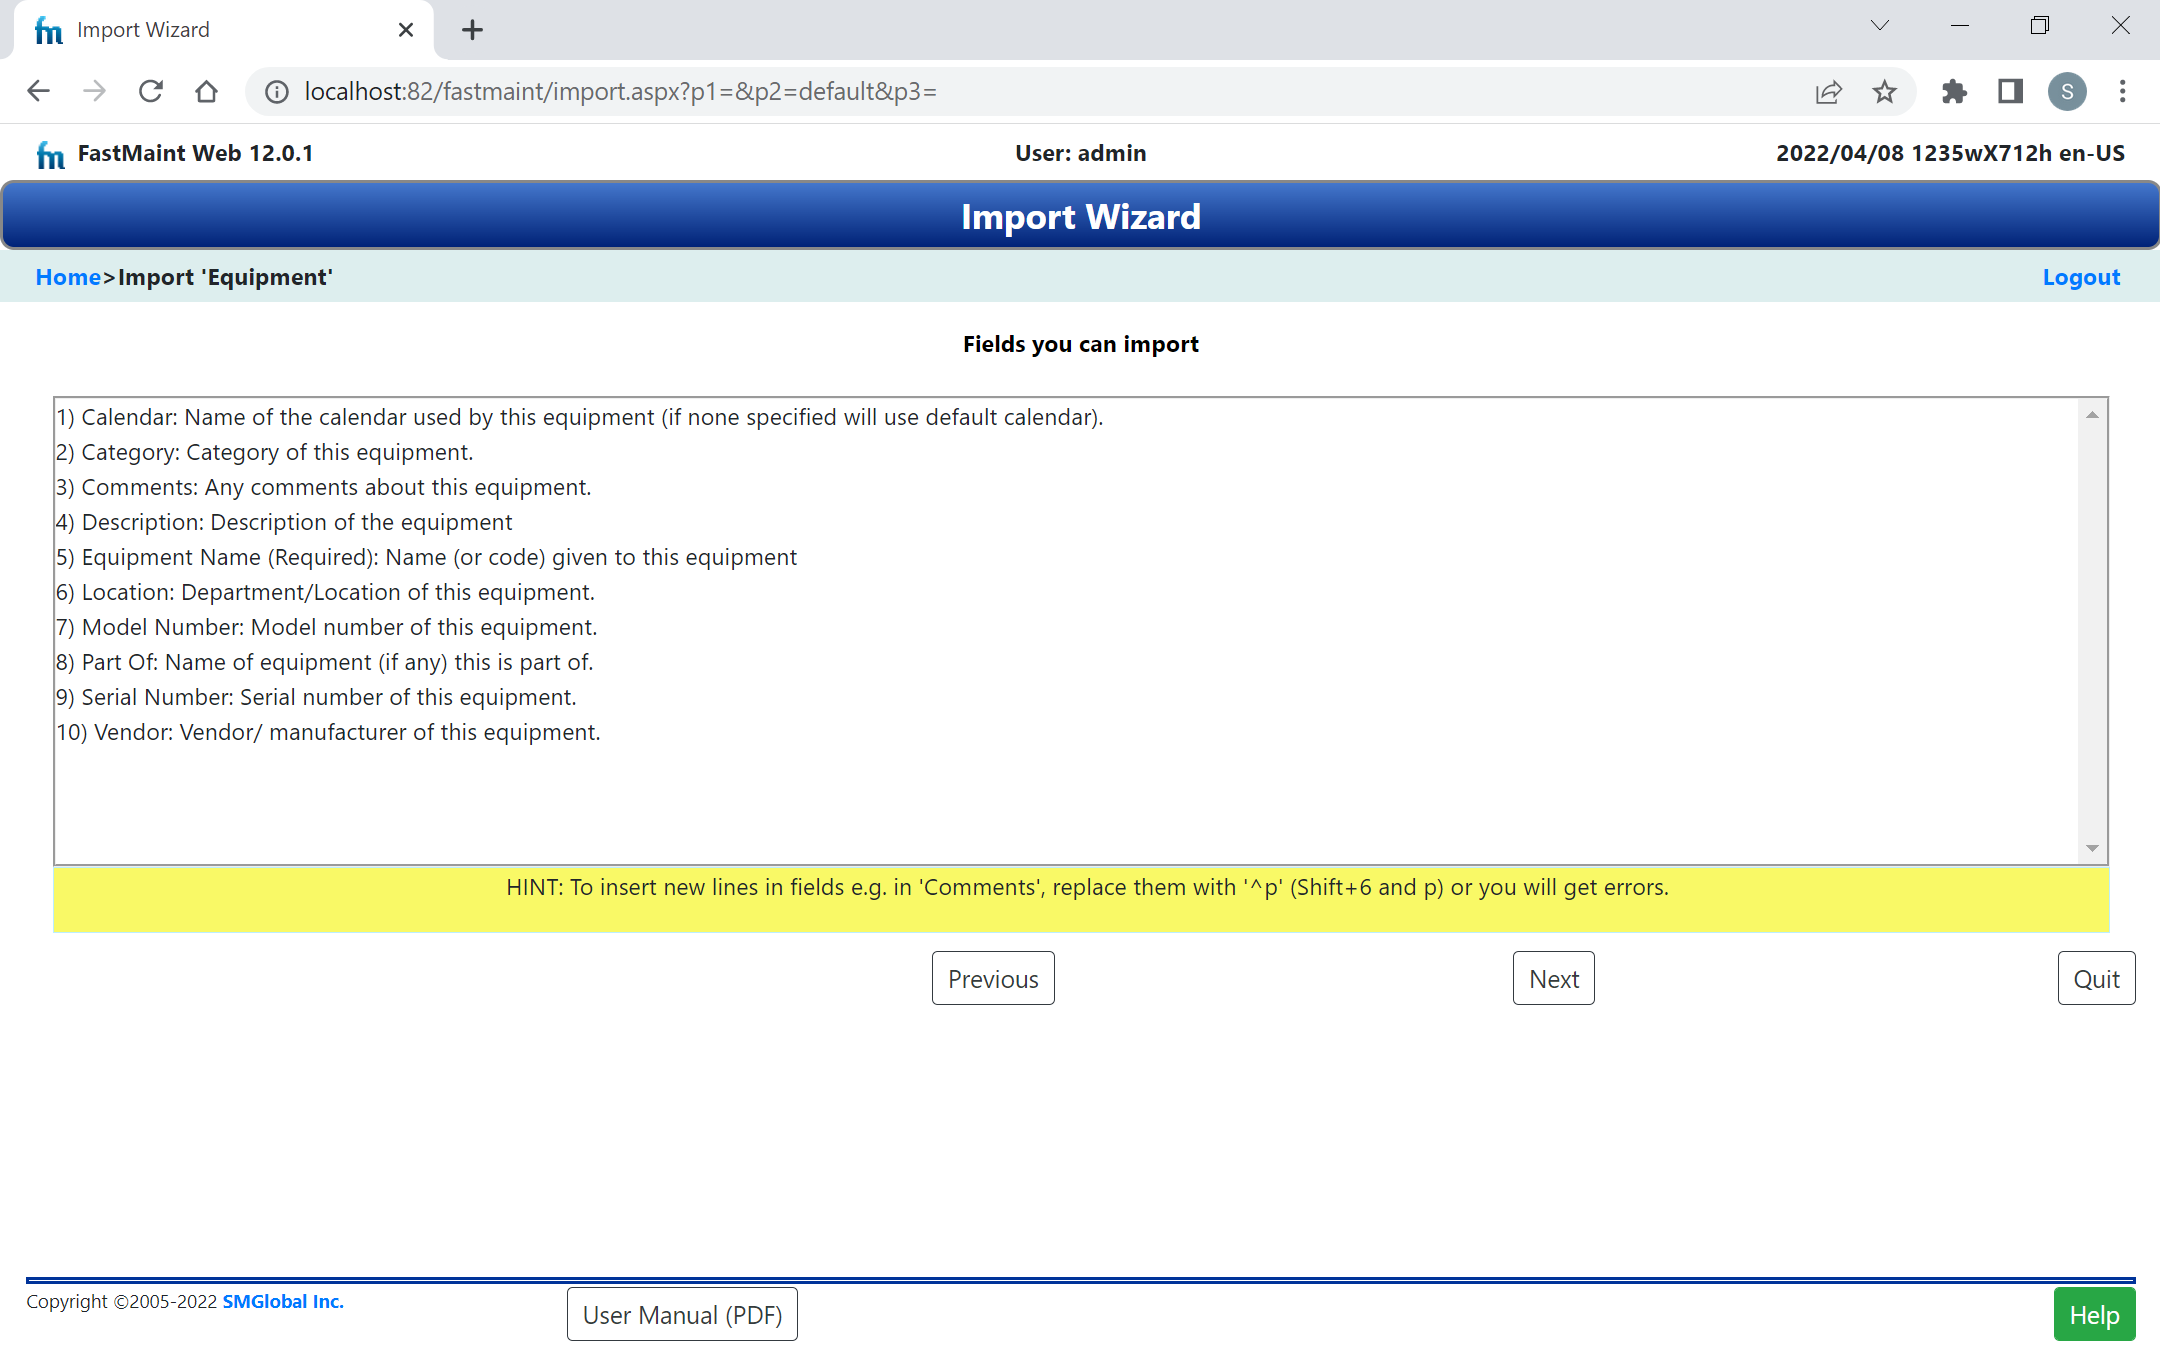
Fields you can import: This shows you the list of fields you can import based on the type of import you selected previously e.g. the screen below shows equipment fields. Click the Next button once again to specify the import file.
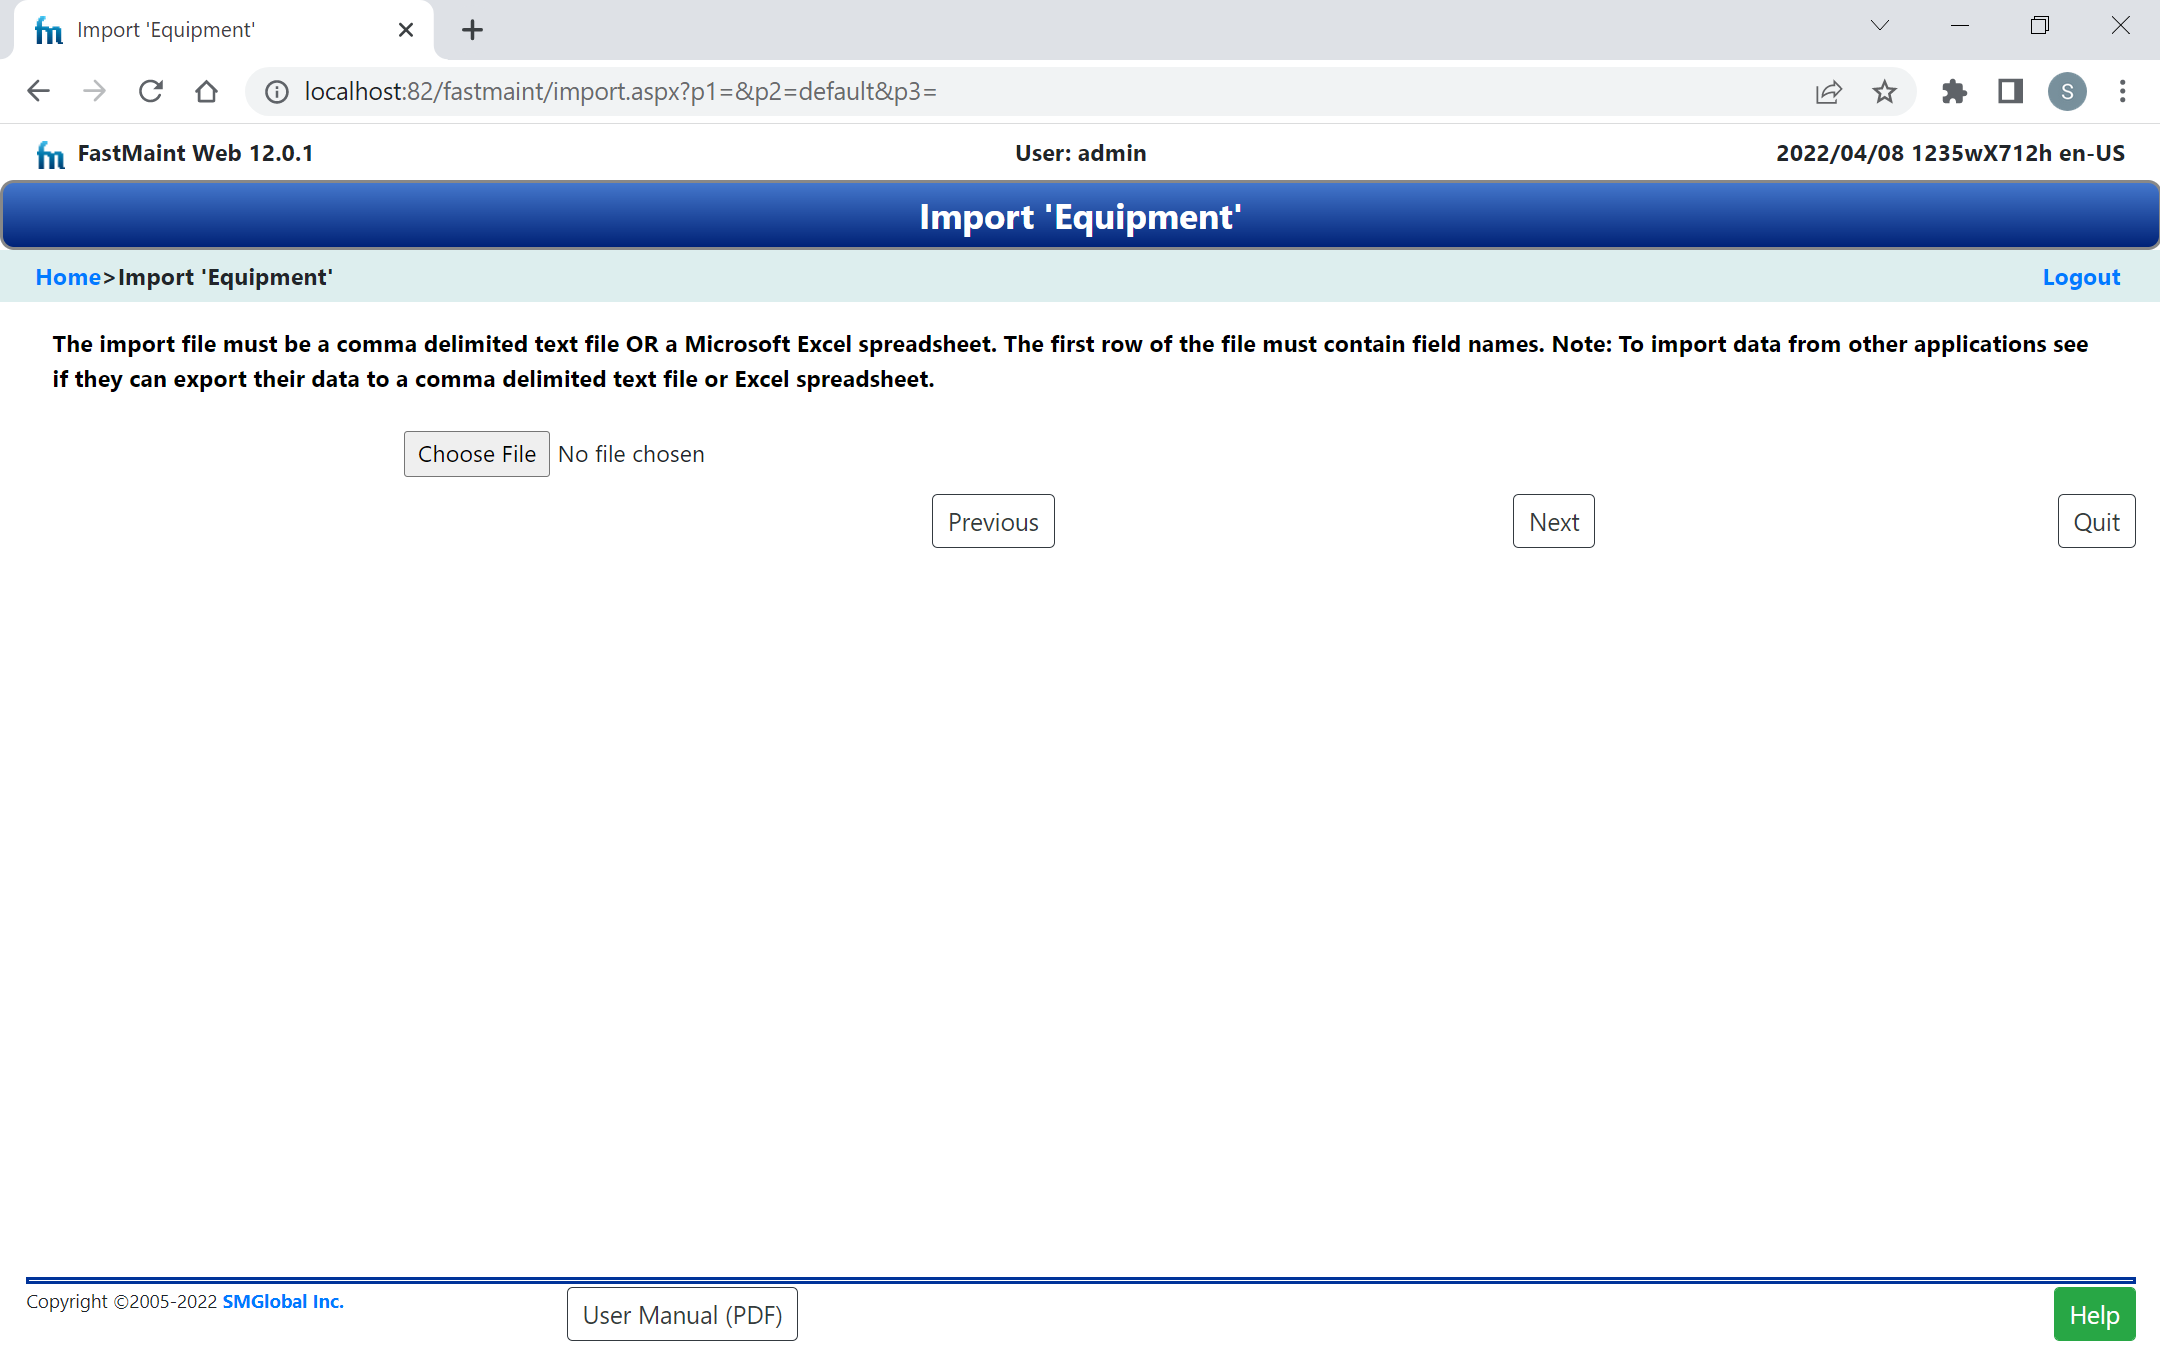
Select import file: Here we specify and upload the input file that contains the data we want to import. This file can be a comma delimited or tab delimited text file or even a Microsoft Excel spreadsheet. The first row of the file should contain column (field) names and the actual data should start from the second row onwards. Click on the Browse button to specify the import file.
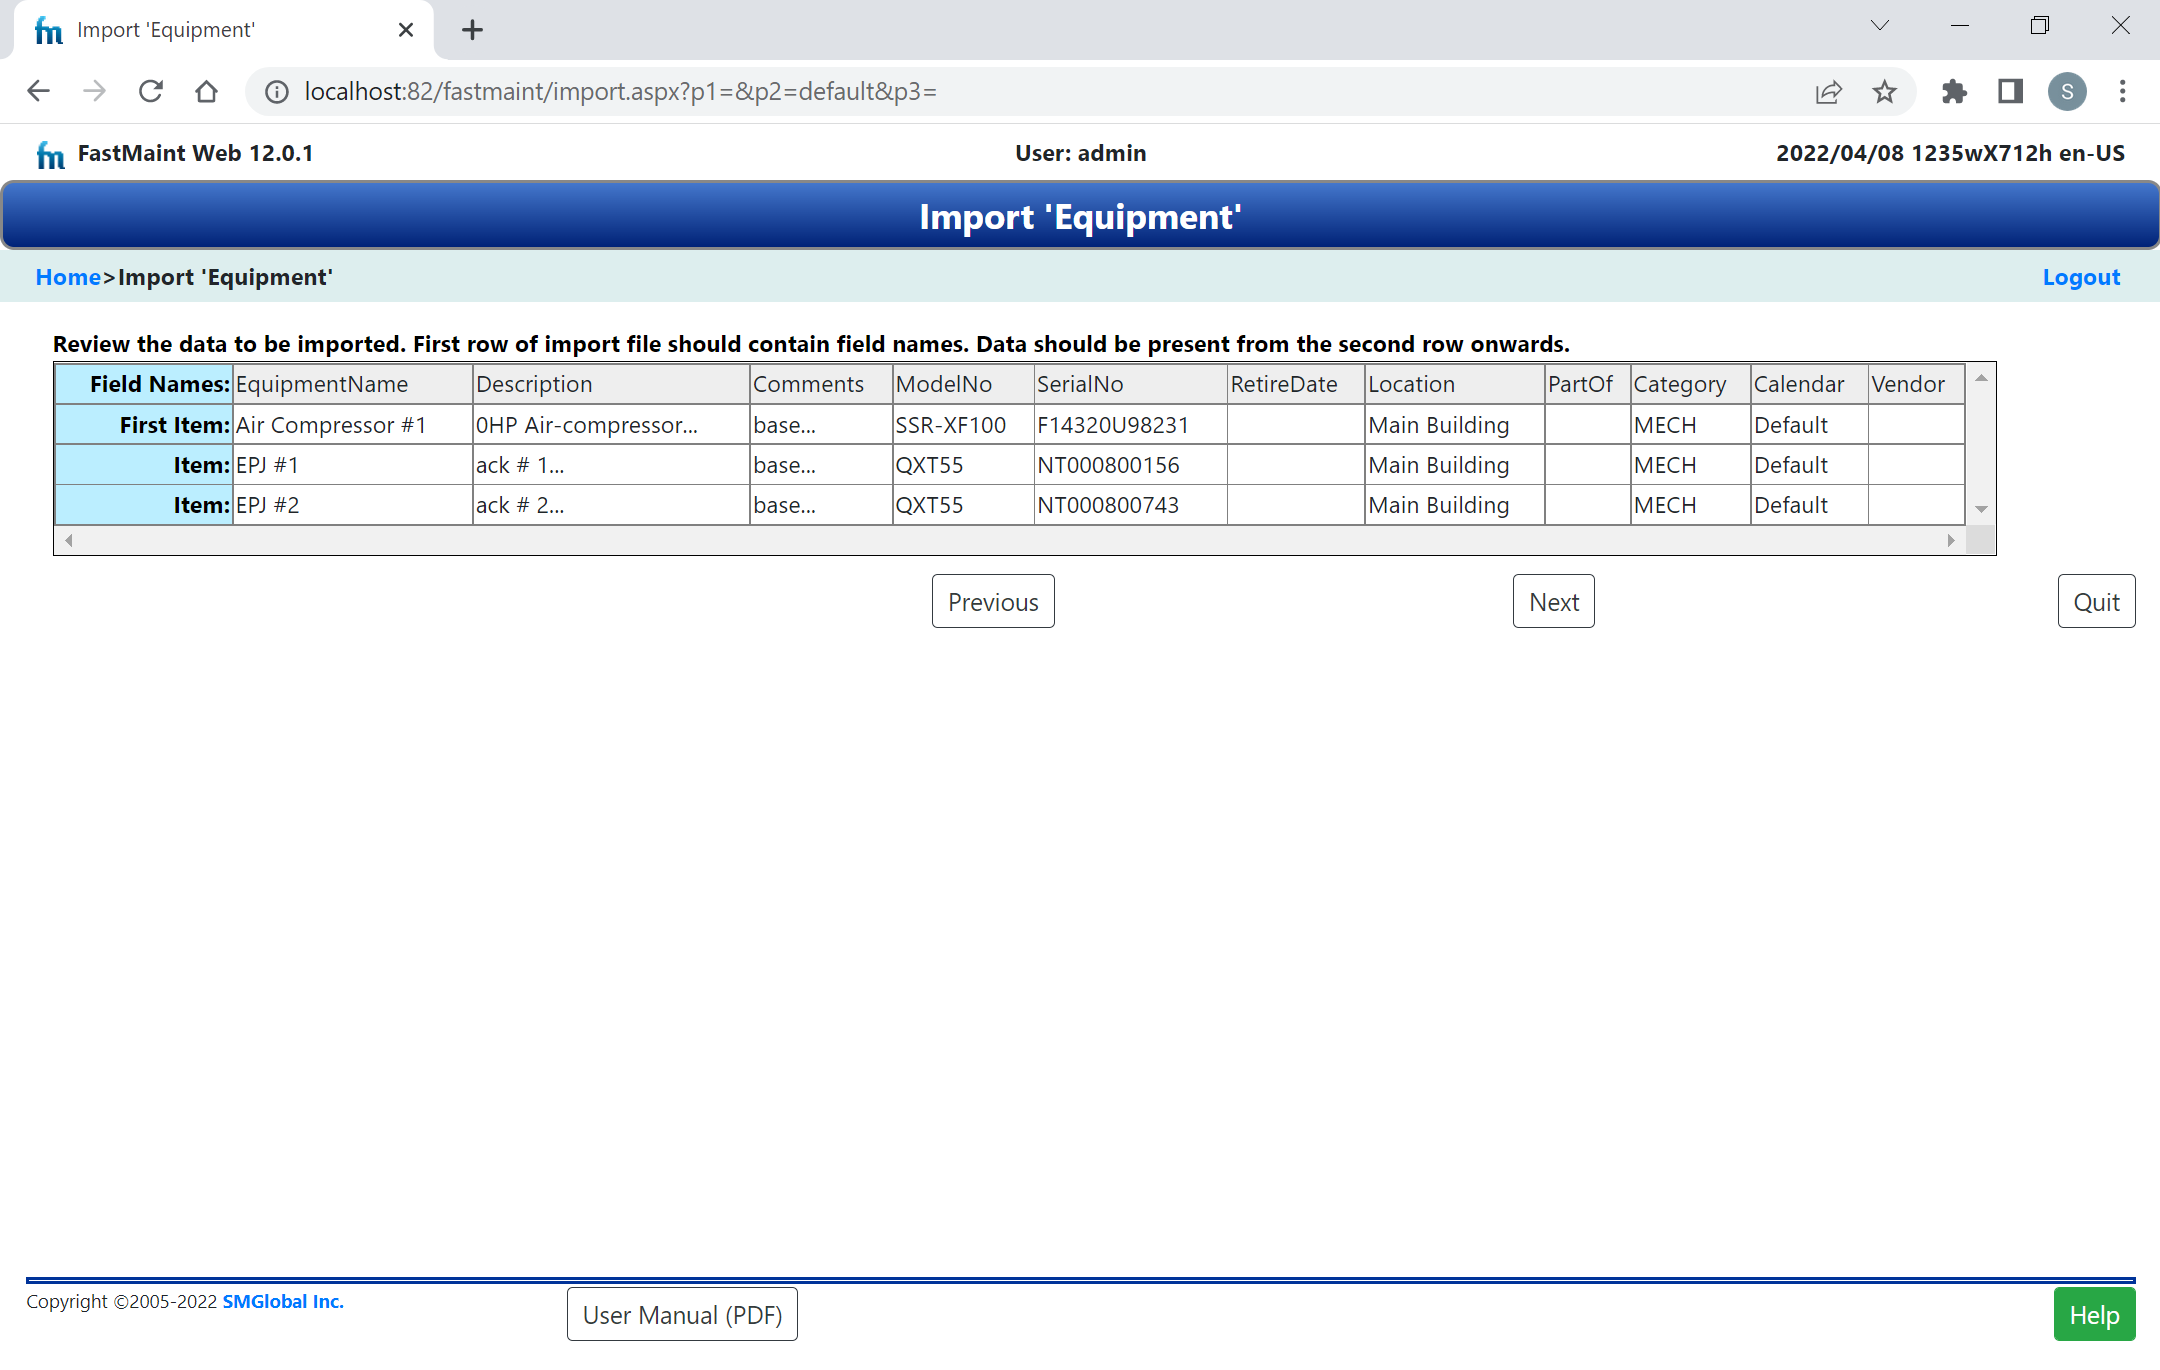
Check if the right data is being imported: This step in the wizard allows you to check if the data you specified is the correct data and that it is in the required format. The first line of the import file should contain the column (field) names. The actual data should be in the second row onwards. Here the Field Names line shows what was found in the first row. The First Item line shows what was found in the second row (first row of data). You may need to edit the data file so that it fits this format. If you need to fix the input file first cancel the import. Fix the file and then try to import it again. Once you are satisfied, click on the Next button to go to the next step.
Specify location of fields in the input file: In this step in the wizard you specify what field in the input file maps to the corresponding field in FastMaint. For example, here we have specified that the column "Bought From" in the input file corresponds to the field "Vendor" in FastMaint. Fields that do not correspond can be left at "<--No match-->". Use the scroll bar to go through the entire list of fields. Once you are satisfied, click on the Next button to go to the next step.
Complete the import: Based on your settings in prior steps the Import wizard will read in the data from the input file and create the corresponding items in FastMaint. As it proceeds it give you information on items it did not import because of problems (duplicate entries, fields with unexpected format, etc.). Once the import is completed you can use this information to fix the input file and run the Import wizard once again on the same file. Items that were previously imported will be automatically skipped.
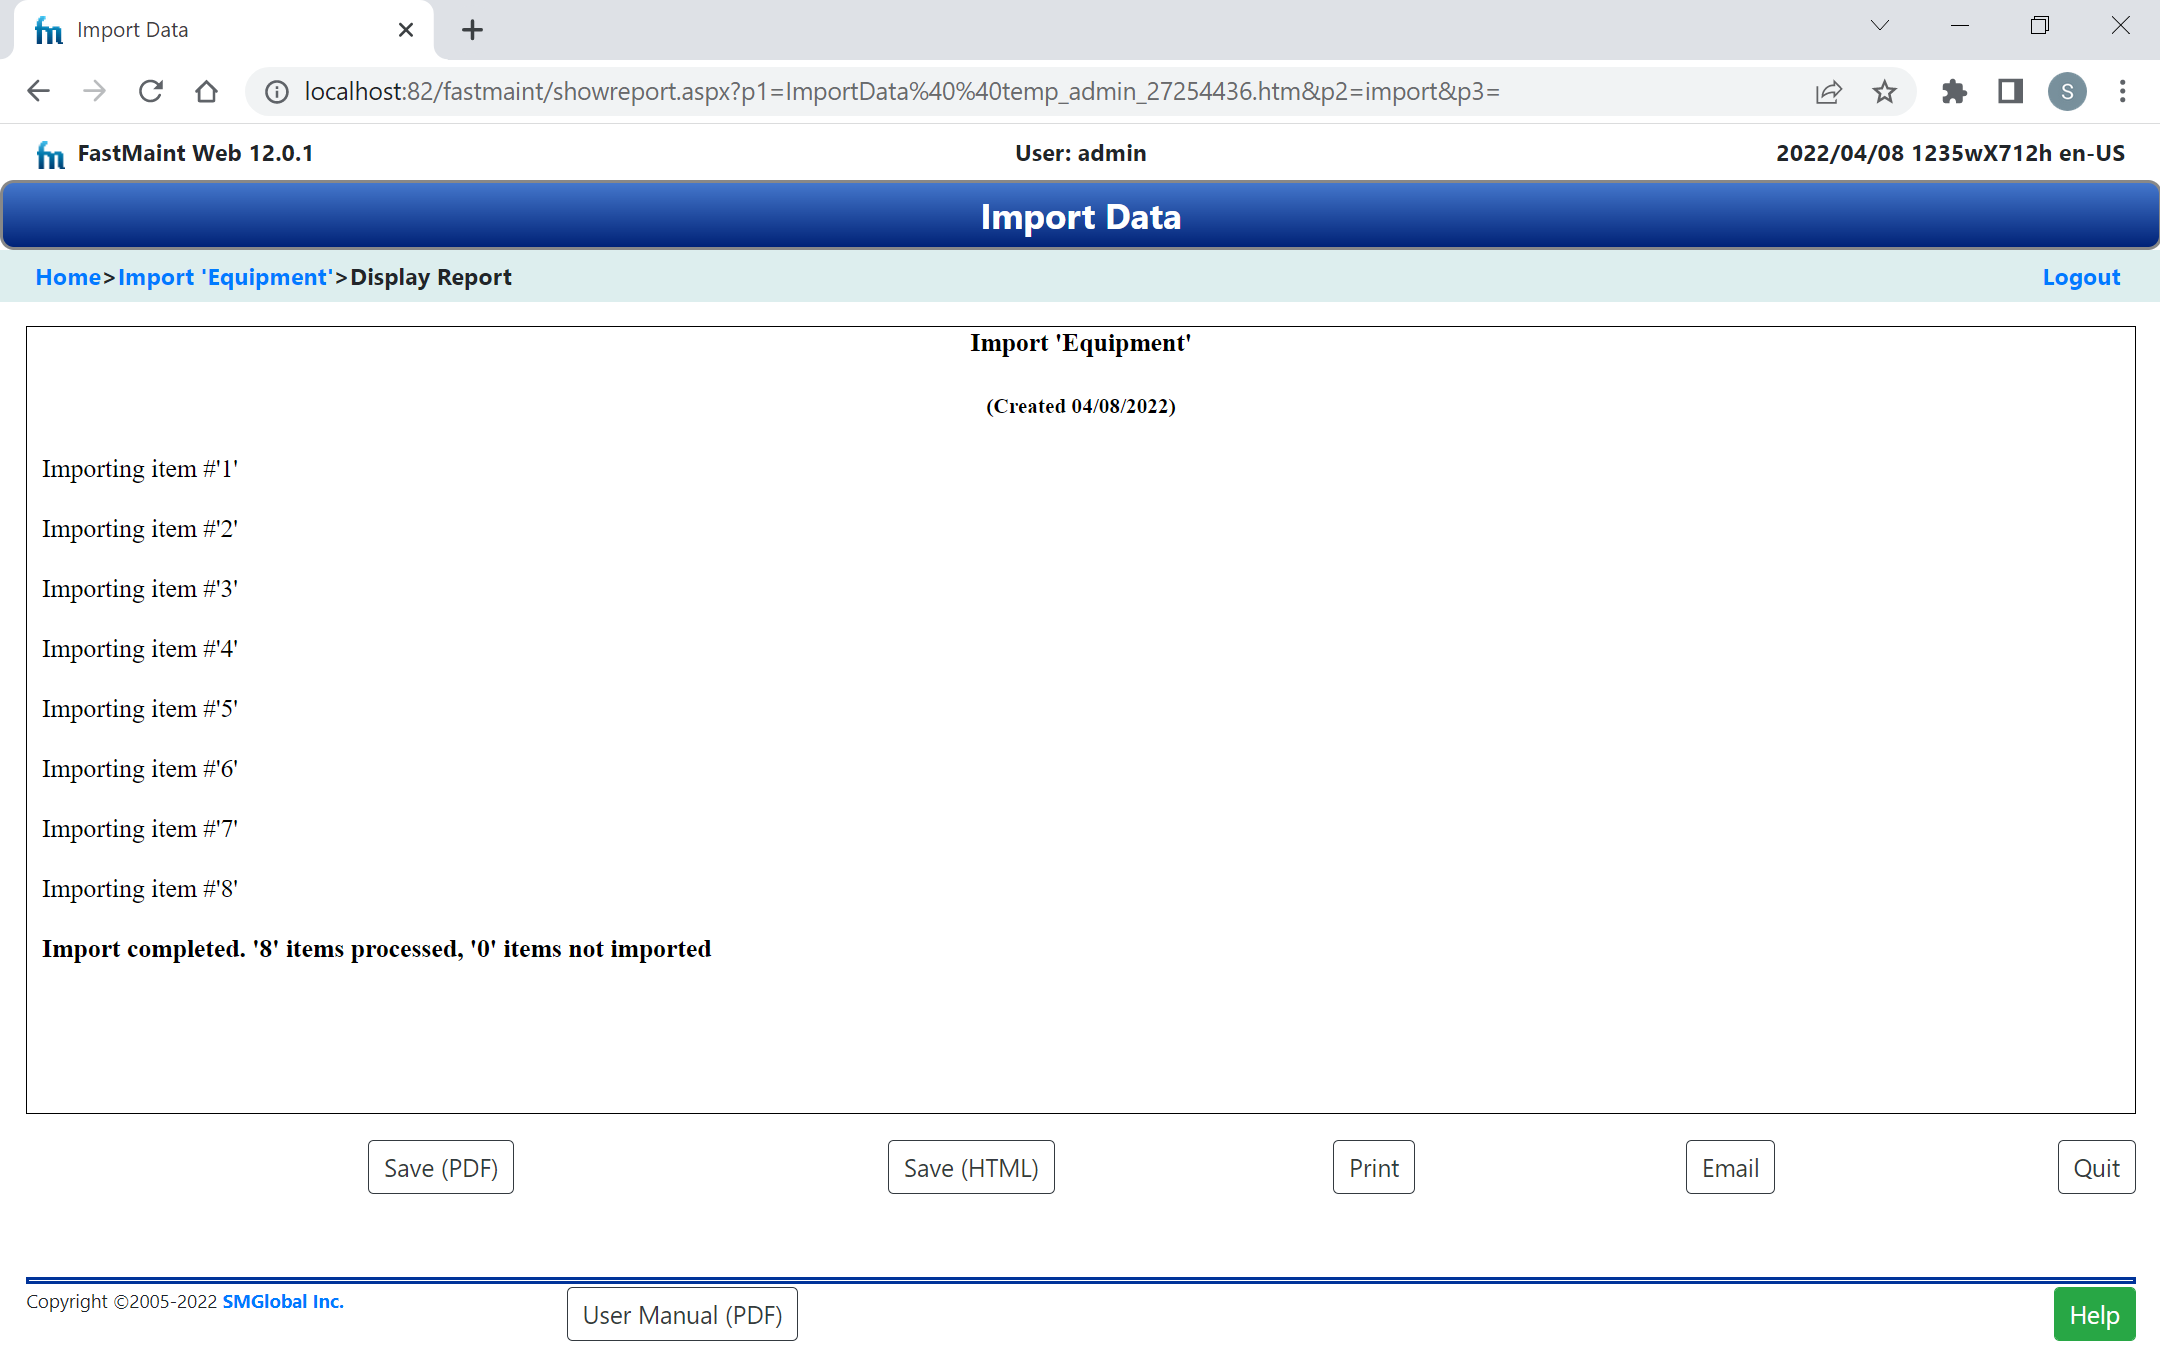
You can print out or email the list of import errors just like another other report to help you fix the import errors and import the items that were skipped. Click on the Quit button to return to start page of the import wizard so that you can import other data if needed.